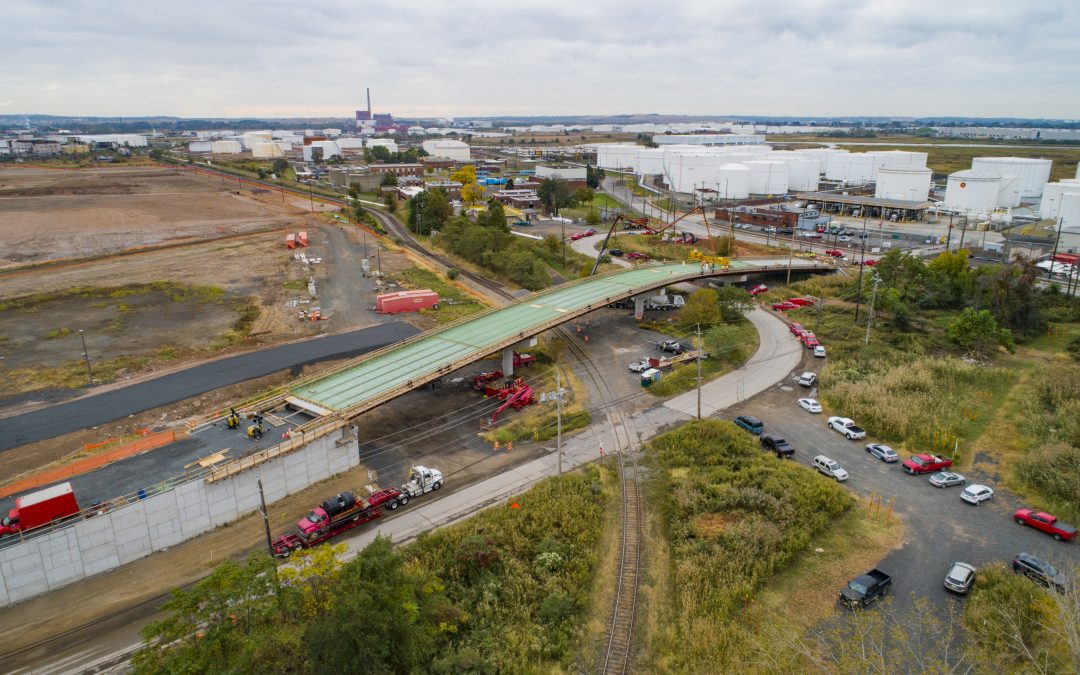
Using Drone Time-lapse progression is a great way to show the progress of a construction site. The great folks at Greek Development asked us to shoot progression of the massive Linden Logistics Center project. Litchi is always my app of choice to use for Drone Time-lapse. It’s ease of use simplifies the complex process of flying a drone. After establishing the points from where to document the progress, I also make prints of the initial shots to double check any GPS errors when I subsequently go back to the site.
As you can see the top Time-Lapse is more dynamic than the one below, because there’s more going on in the foreground. As the building set for the location goes up, the Time-lapse will also grow in interest. Loading the images into photoshop as layers and then Aligning the layers, provides great registration of the images. 191 Hamilton St a project that I completed for Premiere Properties last year that took 18months.
Here are my steps for Drone Time-Lapse.
1. Make sure everything is legal where the proposed drone operations will take place and get all necessary permissions.
2. Establish (usually with the client) the best vantage point for where the photo is going to be taken ever time the site is visited as well as the time of day it’s going to be done. I usually do midday because we’re dealing with a year round process, so midday light helps to keep it more consistent.
3. This one is critical. Allow plenty of extra room around the area of the photo. Unless you’re using a drone with RTK GPS, chances are you’re going to have variance in every flight due to the inexact GPS positioning in most drones. Also it’s best to use a drone with a very good camera, because you’re going to need to crop the images to get them to align.
4. Use Litchi to set a Waypoint where you want to go back to every time and save it as a mission in the app. Note: Litchi doesn’t set just one way point for a mission, it needs at least 2. So I always set a way point from where I want to fly and then back up my drone another 20 feet and set another way point. The second way point is the actual one for my mission. Note: you are not allowed to set way points too close together in Litchi, so allow at least 15 feet between way points.
5. BE SURE TO SAVE YOUR MISSION! So you can use it over and over again.
6. Once all the images have been collected, I use Adobe Bridge to select all of the images and then go to the menu Tools > Photoshop > Load Files into photoshop Layers. Once the images are nicely in separate layers in photoshop, I then go to the menu at the top and select Edit > Auto Align Layers. Now if I have done my image capture properly over the last several months, my images should align well with minimal cropping.
7. Now I load the layers into a timeline and export them as either a gif or a .mp4 video file.
With great care and planning dynamic Drone Time-Lapse photography is an impressive tool to have as an image creator. You can see more of my Drone construction work at: www.lindenlogisticscenter.com also www.logannorth.com
Recent Comments